Banana Monkey Destruction Early Game Tier List
From first punch to your first meaningful map breakthrough—what to buy in each phase before mid-game scaling kicks in.
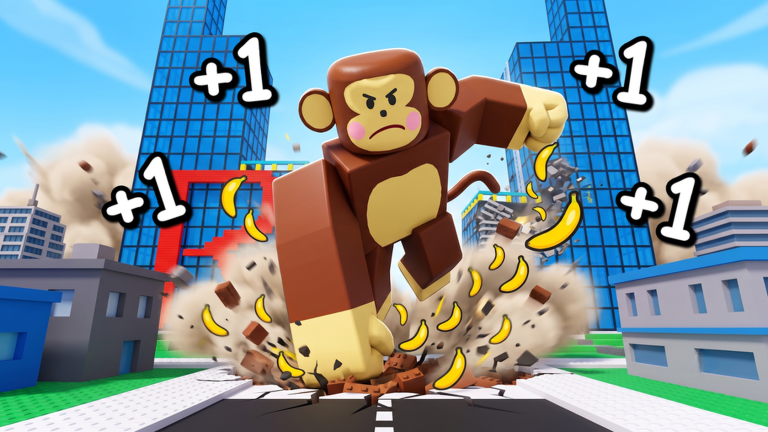
The first hour of +1 Banana Monkey Destruction sets the tone for every hour after. Kaboom Creations front-loads satisfaction—punches feel chunky, bananas pop, the city starts cracking—but incremental math still punishes unfocused spending. This early-game tier list splits progression into phases so you know which upgrades are S-tier in minute ten versus minute forty-five.
Pair this page with Upgrade Priority for stat names and long-term ranks, Getting Started for onboarding steps, and Controls if you are learning inputs on mobile.
Phase 0 — First five minutes (tutorial zone)
Goal: Learn punch timing, banana pickup, and shop navigation.
| Rank | Focus | Why |
|---|---|---|
| S | Complete tutorial prompts | Unlocks shop categories and trainer UI |
| S | First affordable punch upgrade | Stops objects from outliving your patience |
| A | First banana multiplier | Even tier one compounds every future punch |
| B | Size | Only if a prompt hard-requires it |
| C | Cosmetics | Ignore until Phase 2 |
Do not leave Phase 0 without finding the daily free trainer button. Claim it even if you plan a short session—buffs help more when your absolute income is tiny.
Phase 1 — First income loop (minutes 5–20)
Goal: Stable bananas per minute in your starter destruction area.
| Rank | Upgrade type | Notes |
|---|---|---|
| S | Banana multipliers | Alternate with punch power every other purchase |
| S | Punch power (low tiers) | Keep time-to-break under three seconds on common objects |
| A | Trainer-aware play sessions | Play during buff if daily schedule allows |
| B | Size tier one | Buy once if reach blocks targets |
| C | Movement speed | QoL only |
| D | Anything labeled rebirth | Too early—formulas still shifting in early access |
Trap: Chasing largest number on screen. Punch damage spikes look good in chat screenshots while multiplier tiers stay cheap and invisible.
Run a quick Banana Calculator test at minute fifteen. If rate is below your comfort threshold, skip size entirely on the next purchase.
Phase 2 — First zone push (minutes 20–45)
Goal: Break into the next visible world layer before income stalls.
| Rank | Upgrade type | Notes |
|---|---|---|
| S | Punch power to zone threshold | Object health jumps between layers |
| S | Multipliers (continue alternating) | Funds the punch tiers you need |
| A | Size minimum gate | Buy smallest tier that satisfies interaction requirement |
| A | Destruction radius (dense clusters) | Strong in city blocks with grouped props |
| B | Bonus proc stats | Fun variance once baseline stable |
| C | Flex purchases | Still low ROI |
Co-op note: Public servers hold eight players. If competitors clear objects fast, rotate to secondary clusters listed in World Destruction rather than idling.
Phase 3 — Pre-mid-game bridge (45–90 minutes)
Goal: Double your Phase 2 banana rate and identify first long-term bottleneck.
| Rank | Upgrade type | Notes |
|---|---|---|
| S | Highest affordable multiplier tier | Compound interest phase begins |
| A | Punch power catch-up | Prevent zone regression |
| A | Radius if farming route set | Multi-target swings raise averages |
| B | Size for visuals | Acceptable if income tiers within two steps of punch |
| B | Auto punch upgrades (in-game) | If shop offers them, treat as A-tier |
| D | External scripts | Account risk—read Scripts first |
When bananas per minute stops doubling every few purchases, you are leaving early game. Switch primary reference to Upgrade Priority full list.
Early-game F-tier mistakes
These are not upgrades—they are habits that behave like D-tier spending:
- Ignoring trainer claims for multiple days.
- Punching depleted zones instead of pushing destruction forward.
- Chasing fake codes—no verified public codes exist as of August 2026 (Codes page).
- Buying size every time because the avatar looks cool.
- Benchmarking without methodology—always use equal-length punch windows.
Mobile vs PC early priorities
Controls differ—see Controls—but priorities do not. Mobile players may temporarily rank movement speed as B-tier for QoL when rotating between clusters. Income math remains king.
Checklist before you call yourself “out of early game”
- Trainer claim understood and used on active days
- At least three multiplier tiers purchased
- Punch power clears current zone objects reliably
- One documented banana-per-minute baseline saved from calculator
- Next zone entrance identified on World Destruction
- No bananas sunk into unreleased code scams
Related pages
- Upgrade Priority — full stat rankings beyond hour one
- Bananas — currency fundamentals
- Upgrades — shop stat glossary
- Tier List Hub — hub overview
Frequently Asked Questions
Quick answers to the most common questions.
How long does early game last?
Roughly sixty to ninety minutes of focused free play for most accounts, faster with trainer buffs and efficient routing, slower if you overspend on size.
Should mobile players follow the same tiers?
Yes. Upgrade priority is economic, not input-based. Only movement QoL ranks slightly higher on small screens.
When do I stop using this page?
When banana rate growth slows to incremental single-tier gains and you begin planning rebirth or event currencies—then live on Upgrade Priority and Systems pages.
Does playing with friends change early tiers?
Only indirectly through shared map availability. Personal upgrade order stays the same; route choice may differ in busy lobbies.