Banana Monkey Destruction Banana Rate Calculator
Turn punch sessions into bananas-per-minute data so every upgrade purchase earns proof, not guesswork.
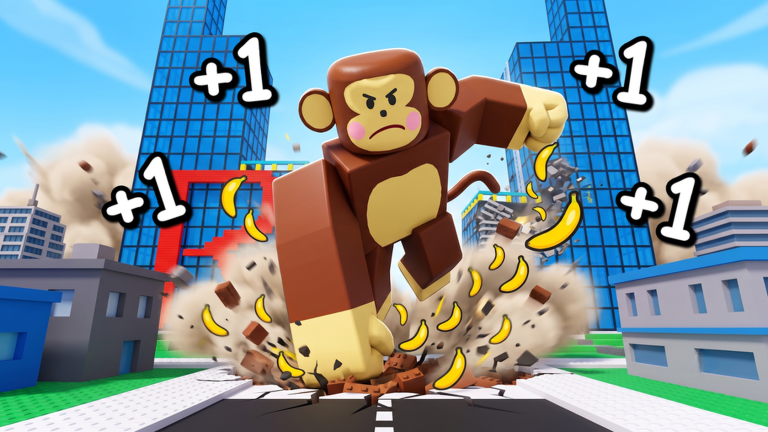
Incremental progression in +1 Banana Monkey Destruction feels obvious until it does not. You buy a punch upgrade, numbers go up, yet twenty minutes later the next tier still looks expensive. The difference between guessing and knowing is bananas per minute (BPM)—a simple rate metric this page helps you measure consistently.
Use the calculator when evaluating Upgrade Priority recommendations, comparing trainer-on versus trainer-off sessions, or documenting progress before Kaboom Creations ships the next balance patch listed on Updates.
What the calculator measures
Bananas per minute answers one question: how fast does your current build generate spendable currency under fixed conditions? It does not predict rebirth ROI, event loot, or paid boost value unless you enter those bonuses manually as notes alongside the test.
The interactive planner below estimates time-to-target and upgrade break-even from your measured rates. The methodology after the tool explains how to collect honest BPM numbers with a stopwatch so the inputs stay trustworthy.
Banana goal planner
Enter your wallet, target, measured bananas-per-minute, and usual session length.
- Bananas needed
- —
- Minutes needed
- —
- Sessions needed
- —
Upgrade break-even helper
One-minute punch test (manual method)
This is the wiki-standard benchmark reproducible across PC, mobile, and controller setups documented in Controls.
Step 1 — Fix your conditions
Pick a farming spot in your current world zone with:
- Steady object respawns or enough health to punch continuously for sixty seconds.
- Minimal travel between targets (walk time deflates BPM).
- Consistent trainer state—either always buffed after claiming the daily free trainer or always unbuffed for science runs.
Write down zone name, trainer yes/no, and party size (up to eight players). Shared maps can steal targets; note if the lobby was crowded.
Step 2 — Record start and end bananas
Open the in-game banana total visible on your HUD or shop header. Note Start count. Start a sixty-second timer. Punch actively—no idle staring at upgrade menus mid-test.
When the timer ends, immediately note End count.
Step 3 — Calculate BPM
Bananas earned = End − Start
BPM = Bananas earned ÷ (seconds ÷ 60)
Example: Start 1,240 → End 1,780 in 60 seconds → 540 bananas → 540 BPM.
For thirty-second micro-tests, multiply earned bananas by two, but prefer full minutes to reduce rounding noise.
Step 4 — Upgrade and repeat
Buy exactly one upgrade tier you are evaluating—or finish a planned route from Early Game Tier List. Return to the same spot, same trainer state, same device. Run another sixty-second test.
Improvement = (BPM after − BPM before) ÷ BPM beforePositive improvement confirms the purchase moved income. Negative or flat results mean the upgrade may be misaligned with your current zone—check punch vs multiplier balance on Upgrades.
Why one minute instead of five
Longer windows reduce variance from proc-based bonus bananas, but early-game attention spans and crowded servers make five-minute tests noisy for different reasons—players leave, events spawn, friends teleport you away.
One minute is the wiki compromise: long enough to smooth one lucky crit, short enough to repeat three times in a row. Run three consecutive minutes and average BPM when an upgrade sits on the border between A-tier and B-tier in tier lists.
Trainer buffs and fair comparisons
The daily free trainer is a legitimate part of free progression—most players should benchmark with trainer active if they always claim before grinding. Science comparisons between builds on different days must note trainer percentage if Kaboom Creations adjusts it in patches.
Never compare a buffed run after a multiplier purchase to an unbuffed baseline from yesterday. That inflates improvement and leads to bad follow-up purchases—often overspending on size because punch felt fast once.
Common measurement mistakes
| Mistake | Effect | Fix |
|---|---|---|
| Including menu time in timer | Deflates BPM | Start timer when first punch lands |
| Switching zones mid-test | Inconsistent object health | Stay in one cluster |
| Mixing manual and auto punch | Input variance | Pick one mode per session |
| Ignoring pickup delay | Slight deflate | Stand close to break points |
| Testing during lag spikes | Random deflate | Re-run on stable ping |
Using BPM to plan shopping sessions
Once you know BPM, estimate time-to-next upgrade:
Minutes needed ≈ Upgrade cost ÷ BPMIf the next multiplier tier costs 12,000 bananas at 400 BPM, expect roughly thirty minutes of focused punching—before trainer spikes and map bonuses. That planning beats impulse buying a size tier because the bar looked empty.
Cross-check planning with Upgrade Priority so you spend that time earning toward S-tier stats first.
Limits of banana rate testing
BPM does not capture:
- Destruction progression that unlocks richer zones later (a punch upgrade with flat BPM may still be mandatory to enter the next layer).
- One-time quest bananas from tutorial or event prompts.
- Account risk gains from external scripts—see Scripts Hub for why those shortcuts distort metrics and endanger accounts.
Treat BPM as the income slice of a larger strategy documented across Systems pages.
Related tools and pages
- Tools Hub — future calculators as they ship
- Upgrade Priority — ranked purchases validated by BPM
- Bananas — currency sources beyond punching
- Getting Started — first-session routine
Frequently Asked Questions
Quick answers to the most common questions.
Does the planner use an official Roblox formula?
No. It multiplies your measured bananas-per-minute by session length and compares upgrade costs to the rate delta you enter. Kaboom Creations has not published a public income formula.
What BPM should I aim for in early game?
There is no universal number because zones and trainer buffs differ. Track your own improvement percentage after purchases instead of chasing external leaderboard claims.
Should I include bananas spent during the test minute?
No. BPM measures income velocity, not wallet balance. Only Start and End totals matter.
Can I use thirty-second tests on mobile?
Yes, but multiply results carefully and prefer three short tests averaged. Mobile input gaps make longer single windows less reliable.